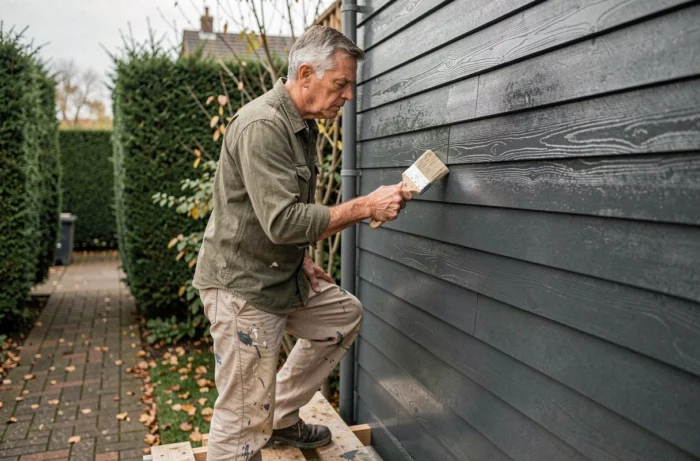
Wood cladding grayed by two winters, with flakes of paint lifting at the slightest touch of a fingernail: we’ve all seen this scenario. The problem rarely lies with the paint itself, but with what happens before and beneath the topcoat. Painting exterior wood cladding involves a precise sequence in which each step affects the next, from assessing the surface to the final drying stage.
Cladding ventilation: what paint can’t fix
Before discussing products or colors, check how the facade is built. The air gap behind the cladding and drainage at the base of the facade determine how much residual moisture remains in the wood. Even well-applied paint can’t make up for cladding that isn’t designed to dry out.
If water collects at the bottom of the cladding or ventilation is blocked (compressed insulation, missing vent grille), moisture seeps into the boards through capillary action. Even a high-performance paint film will eventually blister as water vapor pushes from the inside out. Before painting, check these two points: airflow and drainage at the base.
One often-overlooked detail: the natural durability stated for a wood species applies to the heartwood, not necessarily the sapwood. If the cladding contains a noticeable proportion of sapwood, protective coating becomes even more important. Paint can’t turn unsuitable wood into a durable surface.
For a more detailed look at the complete process, this guide to painting exterior wood cladding covers each stage with practical pointers.
Assessing the wood surface before painting a facade
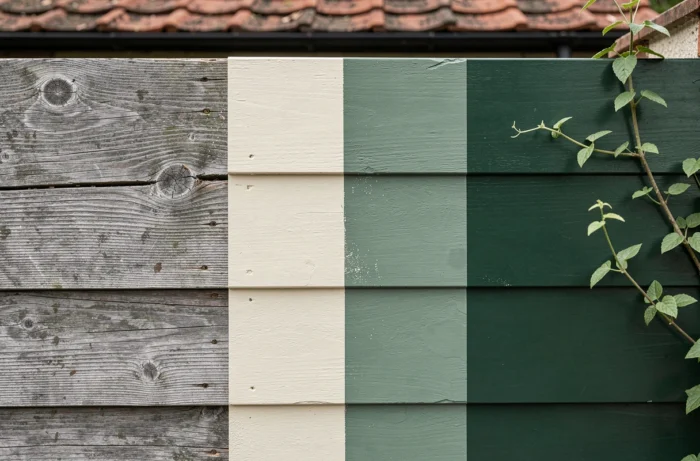
New wood needs different preparation from cladding that has already been painted. With new wood, especially softwoods (pine, spruce, Douglas fir), wait until the wood has stopped bleeding resin and has started to gray slightly. Painting too soon can cause stains around knots and poor adhesion.
For previously coated cladding, start with a simple test: run your hand over the surface. If particles come off, the existing paint film is chalking and needs to be stripped. If the paint is mostly sound but peeling in places, scrape off any loose areas and sand the edges to create a smooth transition.
Checks to make before sanding
- Wood moisture content: aim for a low enough level for the paint to adhere. A contact moisture meter, available at hardware stores, gives a reliable reading in seconds.
- Signs of fungi or mold: blue-black stains indicate fungal blue stain. Apply a fungicidal treatment before any topcoat, or the problem may reappear beneath the paint.
- Condition of the fixings: rusty screws or nails can cause streaks beneath the paint. Replace them or treat them with a rust inhibitor suitable for wood.
- Cracks or open joints between boards: fill them with flexible exterior caulk, not rigid filler, which will crack as soon as the wood expands and contracts.
Choosing paint for exterior cladding: acrylic, alkyd, or hybrid
Choose a product based on three factors: the facade’s exposure, the wood species, and the finish you want. Water-based paints (acrylics) are the most common choice for cladding. They dry quickly, have little odor, and let the wood breathe thanks to their microporous finish.
Alkyd paints (made with modified resin) provide better flow and a smoother, more lacquer-like finish. They’re still used on cladding where a highly opaque finish is desired. Hybrid formulas (alkyd in a water-based emulsion) combine alkyd’s smooth finish with acrylic’s ease of application.
Matte, satin, or gloss finish
For exterior cladding, a satin finish offers the best balance of appearance and maintenance. Matte paint hides imperfections in the wood but tends to hold more dirt. Gloss highlights every surface flaw and doesn’t weather as well outdoors, chalking more quickly under UV exposure.
Applying paint to cladding: primer and topcoats
Primer (or bonding primer) is essential. It serves three purposes: evening out how the wood absorbs paint, blocking tannin bleed on species such as oak and chestnut, and creating a sound base for the topcoat. Without primer, the topcoat penetrates unevenly, leaving dull and shiny patches.
Apply the primer with a medium-nap roller or a wide brush, following the grain of the wood. Drying time between the primer and the first topcoat varies with the temperature and humidity, but the basic rule is to follow the time stated on the can rather than trying to speed things up.
Application conditions and techniques
Don’t paint in direct sunlight, in the rain, or in freezing conditions. The ideal conditions are a shaded facade, mild temperatures, and dry air. Direct sunlight dries the surface film too quickly, before the solvent or water has fully evaporated beneath it, trapping bubbles.
- Start with the edges and corners using an angled sash brush, then cover flat surfaces with a roller or, for large areas, an airless sprayer.
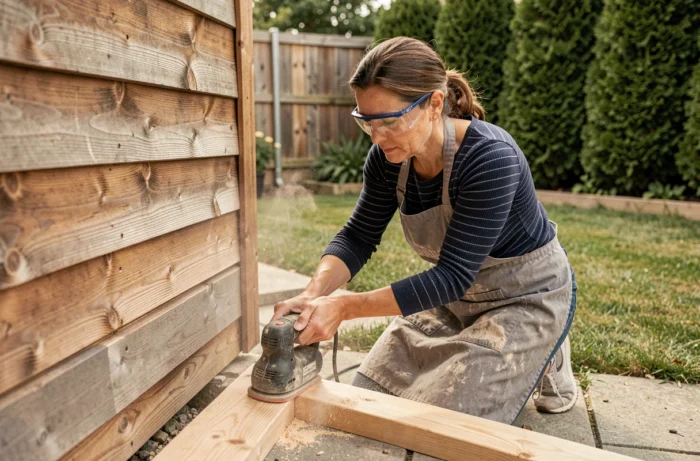
- Apply at least two topcoats, lightly sanding between coats with fine-grit sandpaper to ensure a good mechanical bond.
- Work on one full board at a time, from top to bottom, without stopping midway to avoid lap marks.
Two topcoats are the minimum for exposed cladding. On a south-facing facade or in a coastal area, a third coat can extend protection by several seasons. The extra cost of the paint is modest compared with the time gained before the next renovation.
The lifespan of a paint system on cladding depends as much on surface preparation and facade ventilation as on the product itself. Well-designed cladding that has been properly assessed and painted correctly will retain its appearance and protection for many years, without major work between touch-ups.